Agenda Builder: Highlight Agenda Sessions
Highlighting specific agenda sessions can increase visibility and engagement for key events. You can feature sessions on two main areas of the web app: the Explore page and the Agenda page. Here's how to highlight sessions and the rules that govern their display.
Step-by-Step Guide to Highlighting Agenda Sessions
Access Agenda Builder
Navigate to the Agenda Builder menu and select Builder.
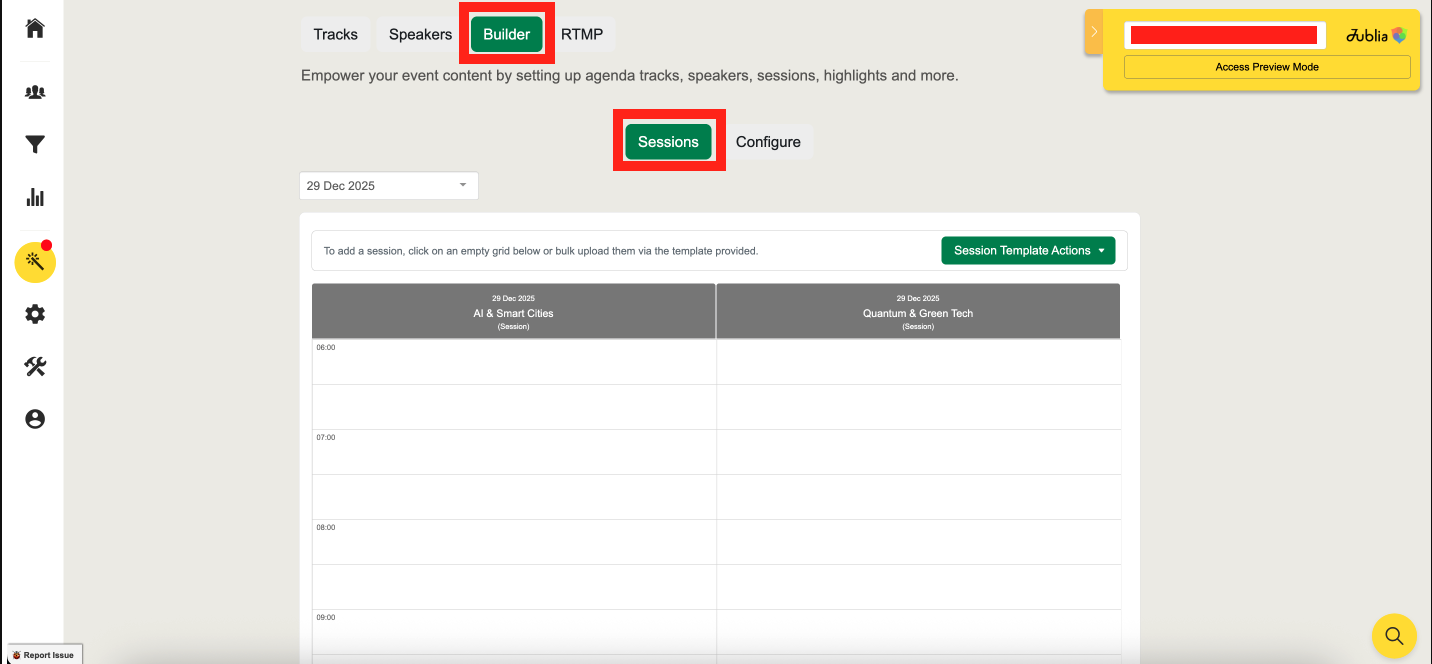
Configure Highlighted Sessions
Click on the Configure button.
Choose the session you want to highlight, either for the Explore page or the Agenda page.
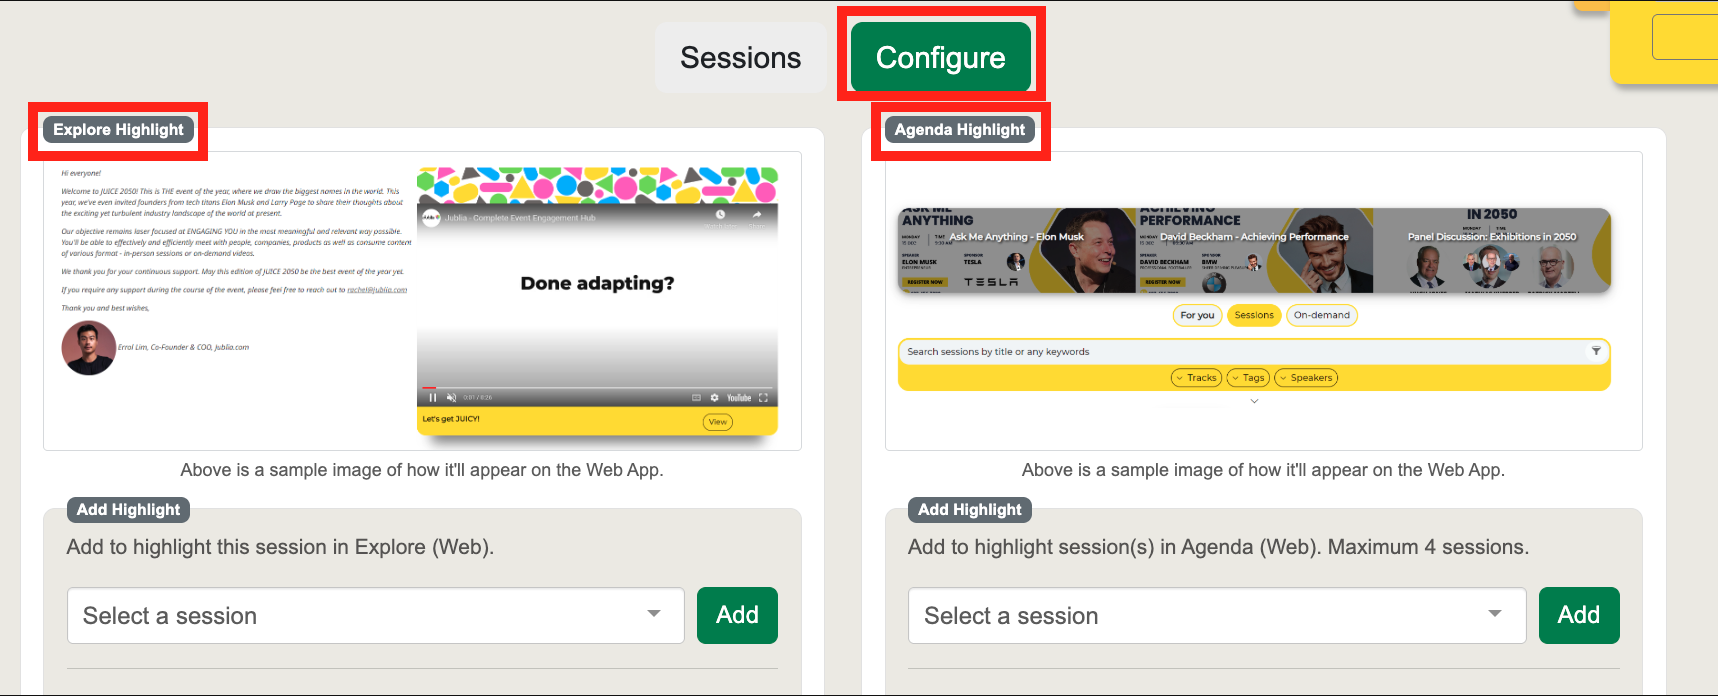
Select the Session for Highlighting
For the Explore page, only one session can be highlighted at a time.
For the Agenda page, up to four sessions can be highlighted.
Add the Session to the Queue
Click the Add button to place the session in the queue.
Note: The system will follow the rules for highlighted sessions when multiple sessions are selected in the queue.
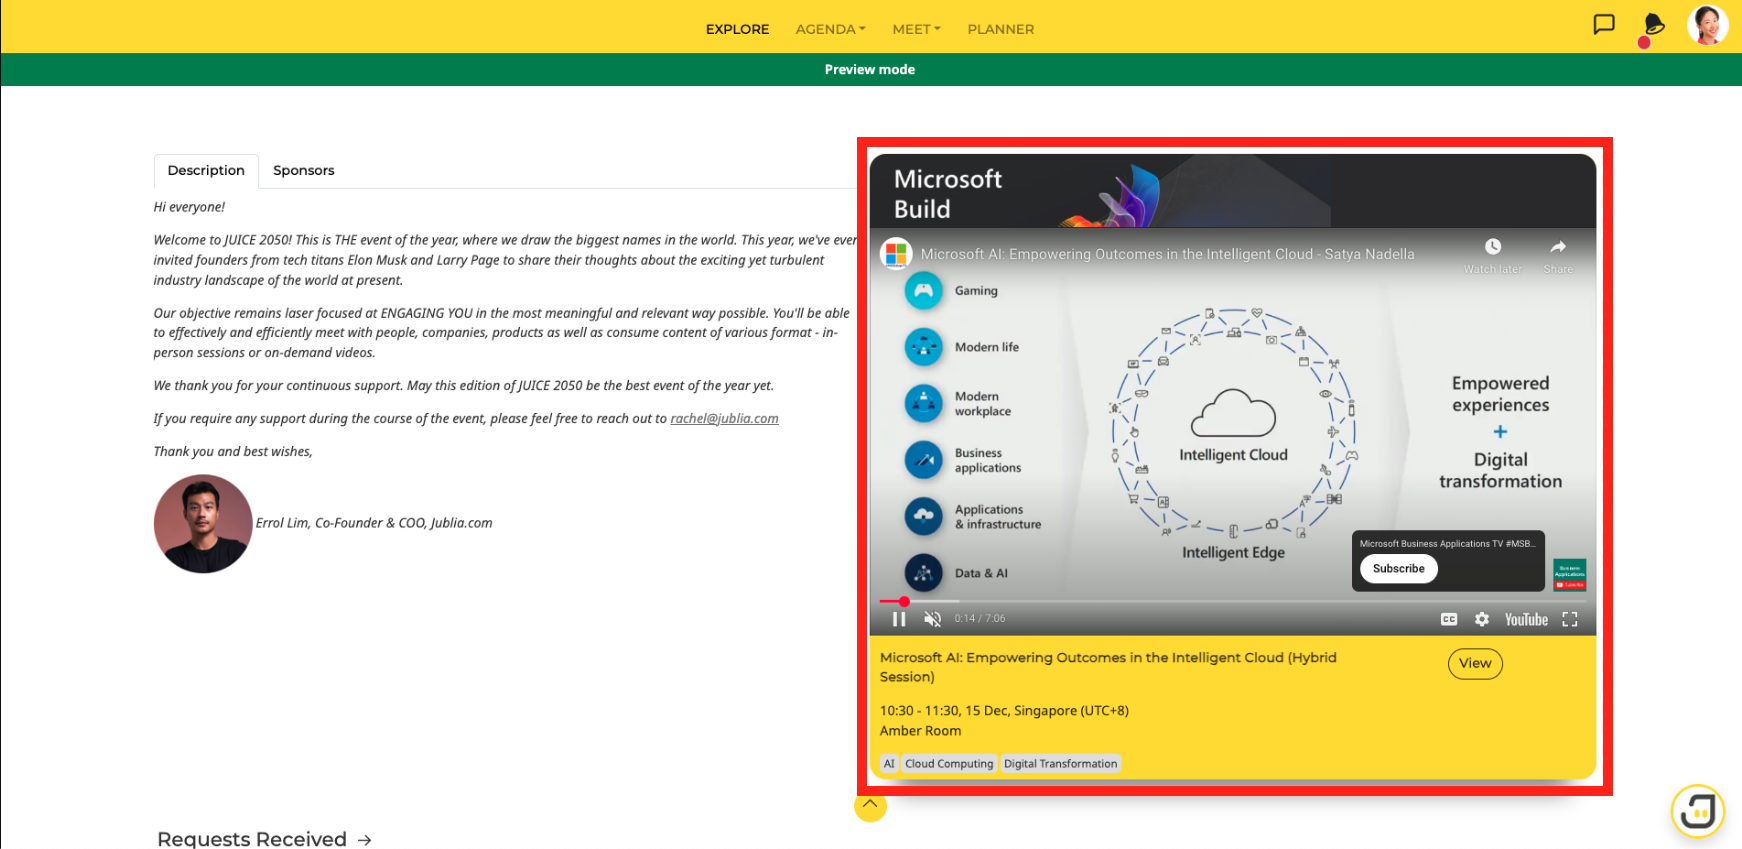
Highlighted Session Placement
Explore Page
Only one session can be highlighted at any time.
Agenda Page
Up to four sessions can be highlighted, giving you flexibility to promote several sessions.

Highlighted Session Rules
The order in which highlighted sessions are displayed follows a priority system:
Priority 1: The first upcoming published highlighted session (multiple sessions can be featured).
Priority 2: The first bookmarked sessions with media content (e.g., images, videos) — these are personalized for each attendee.
Priority 3: The first unpublished highlighted session.
Priority 4: If no unpublished sessions exist, the system will display the first published highlighted session.
Additional Notes
Bookmarking Agenda Sessions
Sessions that are bookmarked by attendees will be personalized on the Explore page.
Unpublished Sessions
Unpublished sessions will appear in grey and will not be immediately visible to attendees.
Support
If you need assistance with automatically selecting highlighted sessions, please contact your project lead.
By following this guide, you can ensure that key sessions are easily accessible and highlighted for maximum attendee engagement.