Agenda Builder: Builder
Creating agenda sessions is a vital part of organizing an engaging, digitally inclusive experience for your virtual attendees. Follow these steps to add, manage, and customize sessions within your event agenda.
Session Creation
Steps to Add a Session:
Select an Empty Timeslot:
In the Agenda Builder, click on an empty grid timeslot to load the session creation options.
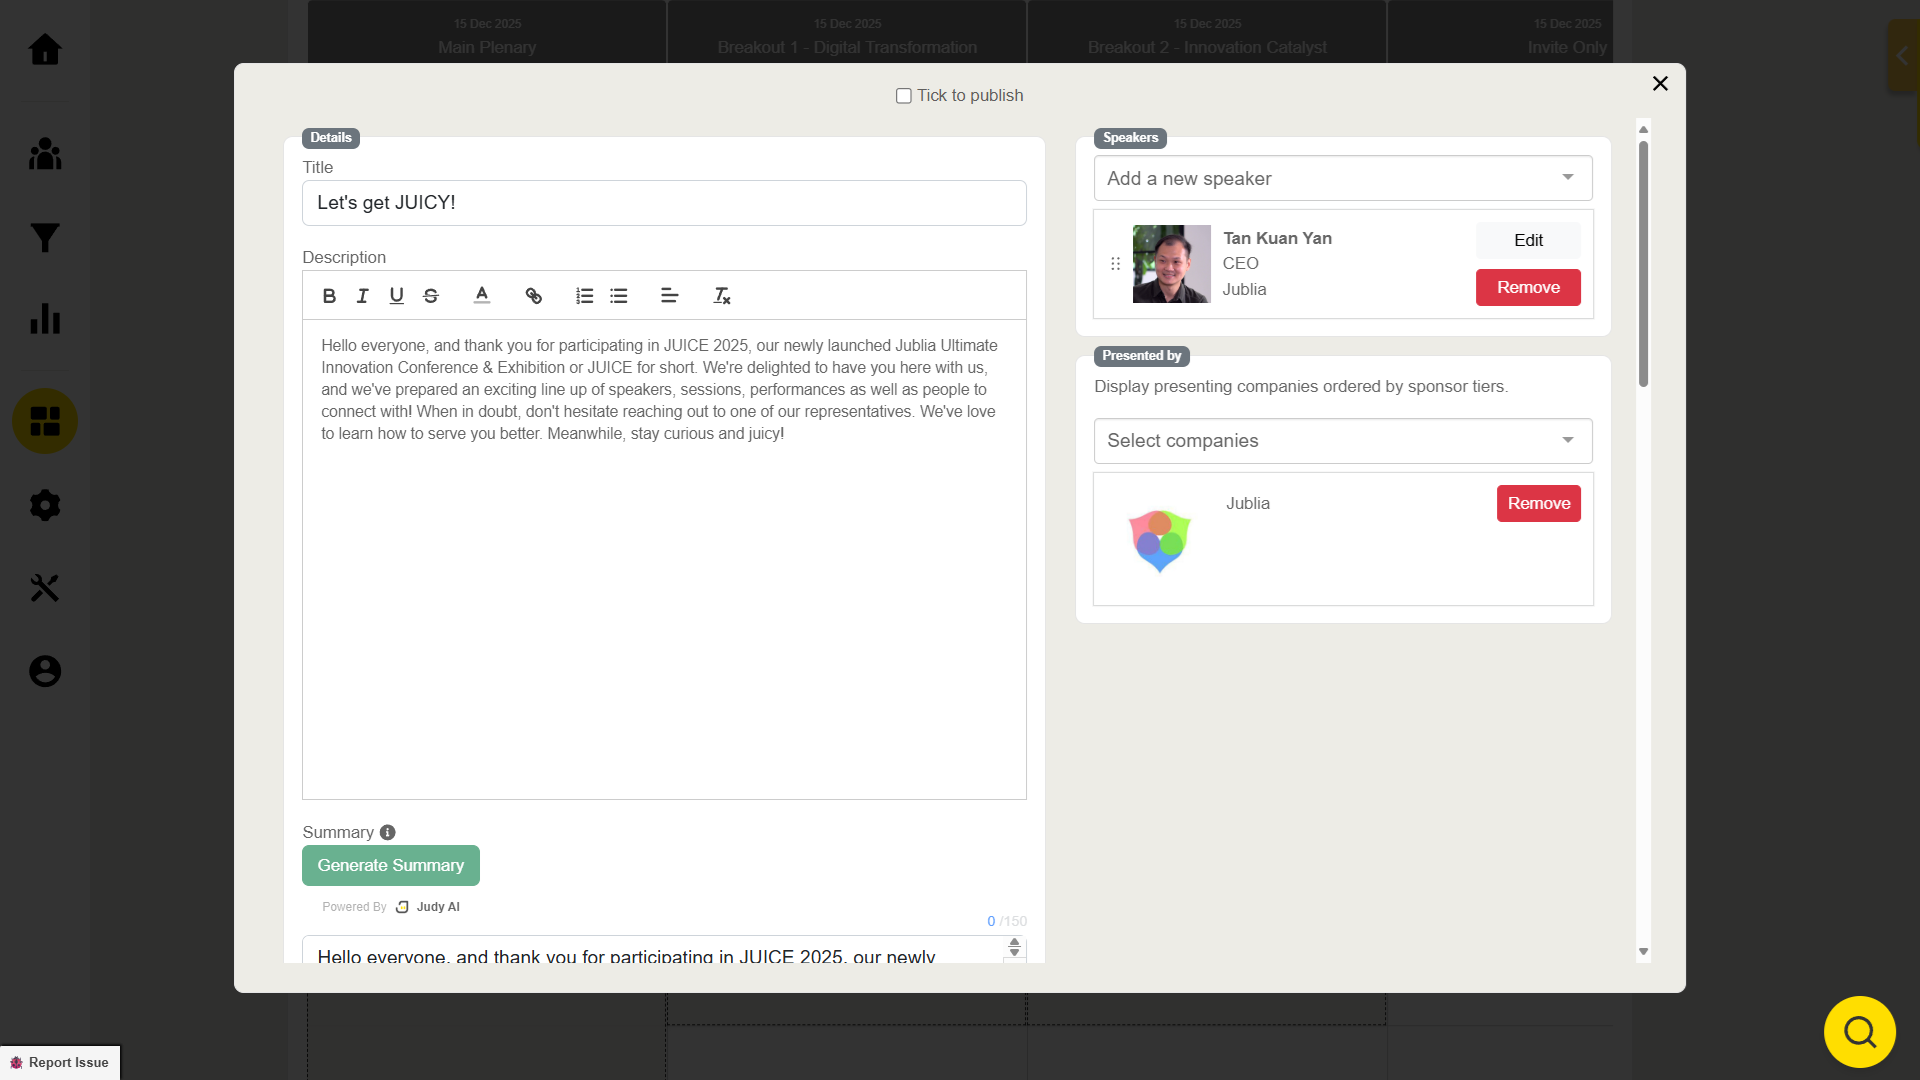
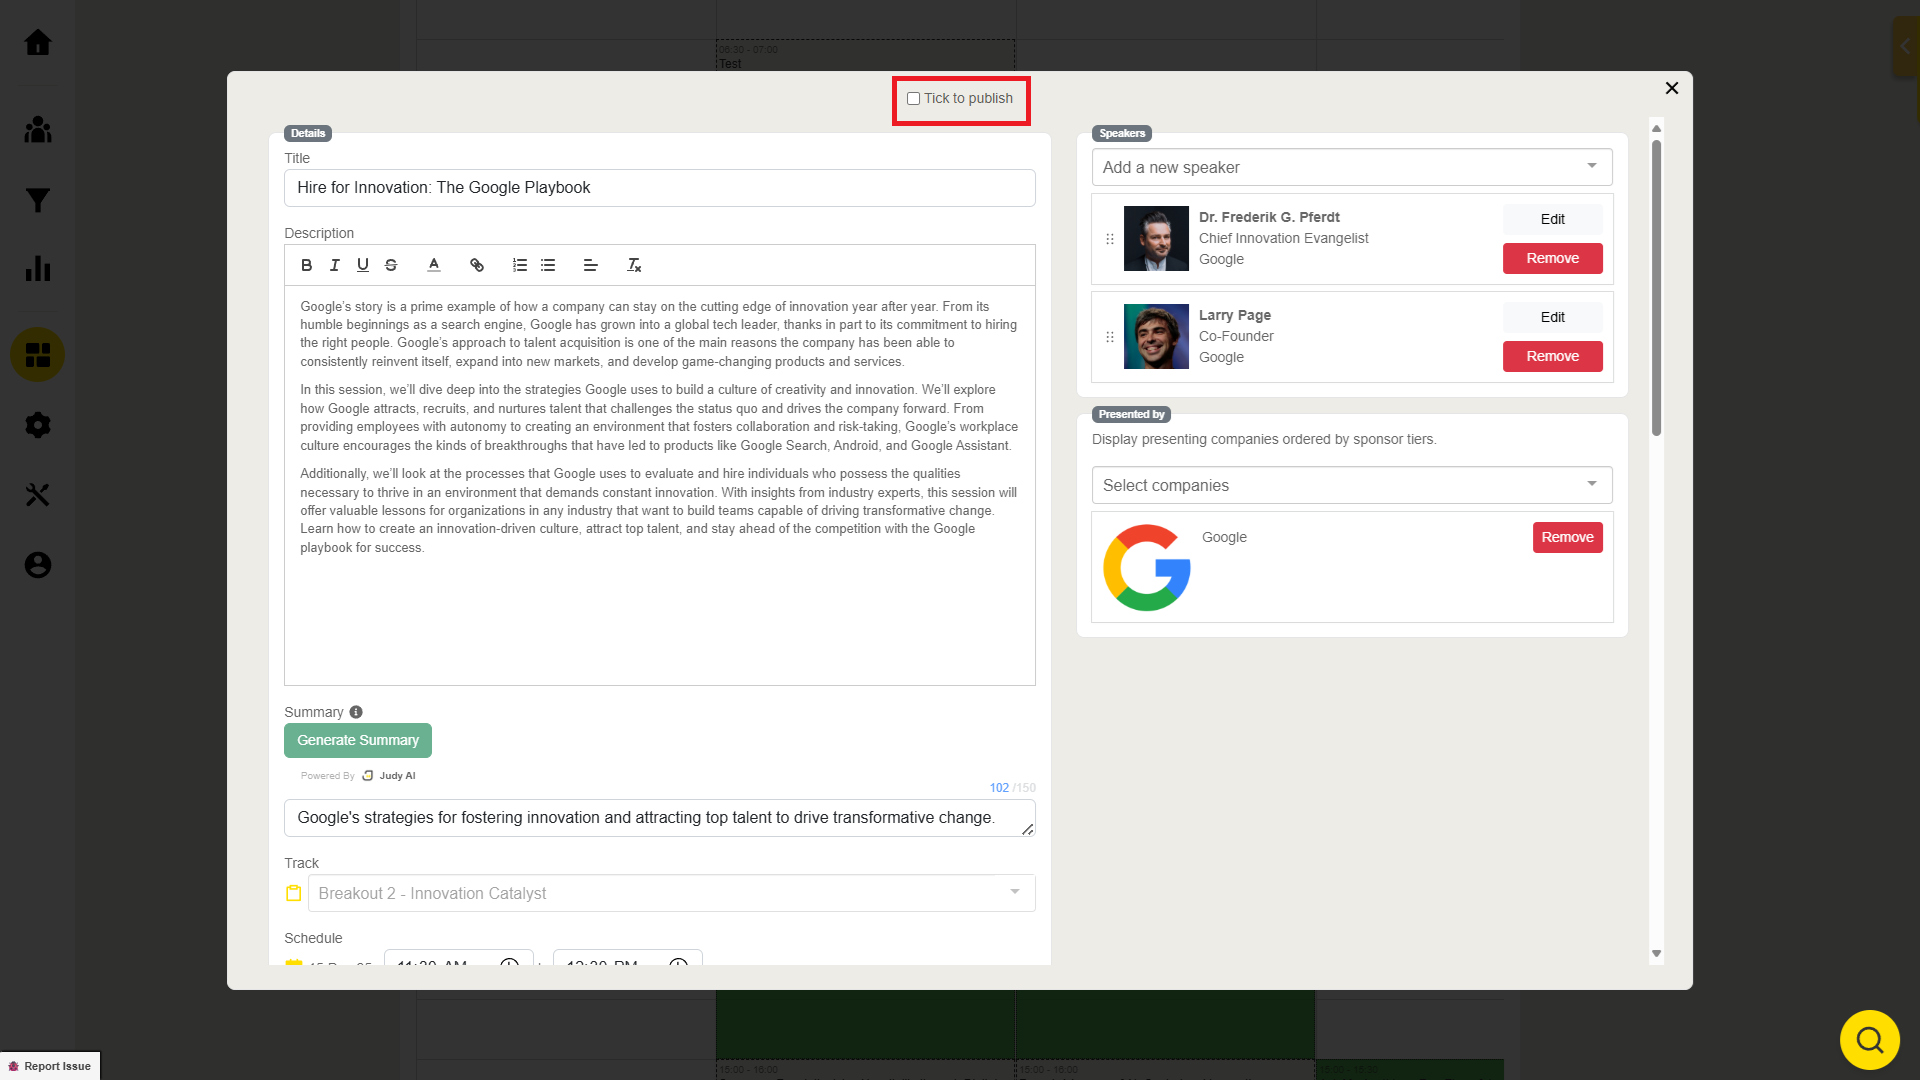
Enter Session Details:
Fill in the session details such as the title, description, date, and time.
Save Session:
After entering the session details, click ‘Save’.
Add Speakers:
Add speakers by clicking the box next to the session details.
Note: Ensure that the speakers are already added and saved in the system.
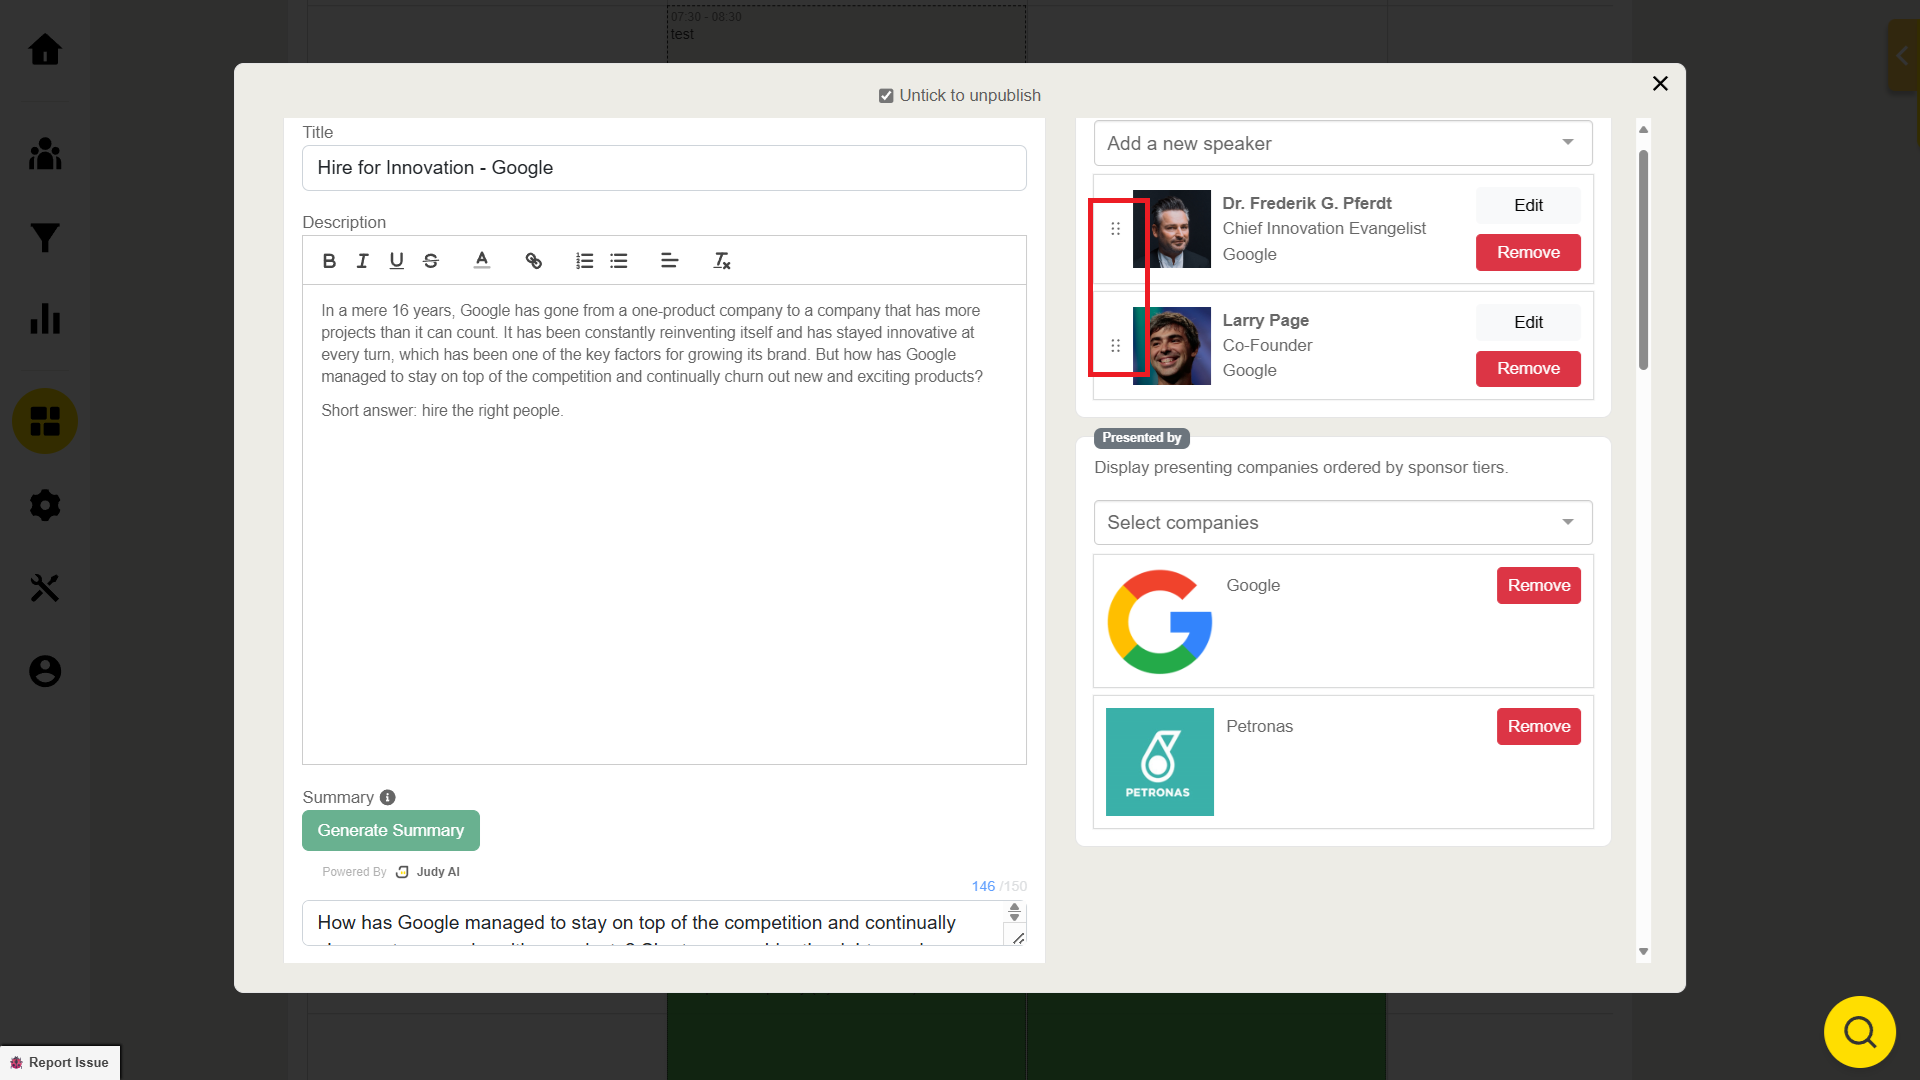
Rearrange Speakers:
If there are multiple speakers, you can reorder them by clicking and dragging the dotted icon next to their profile picture.
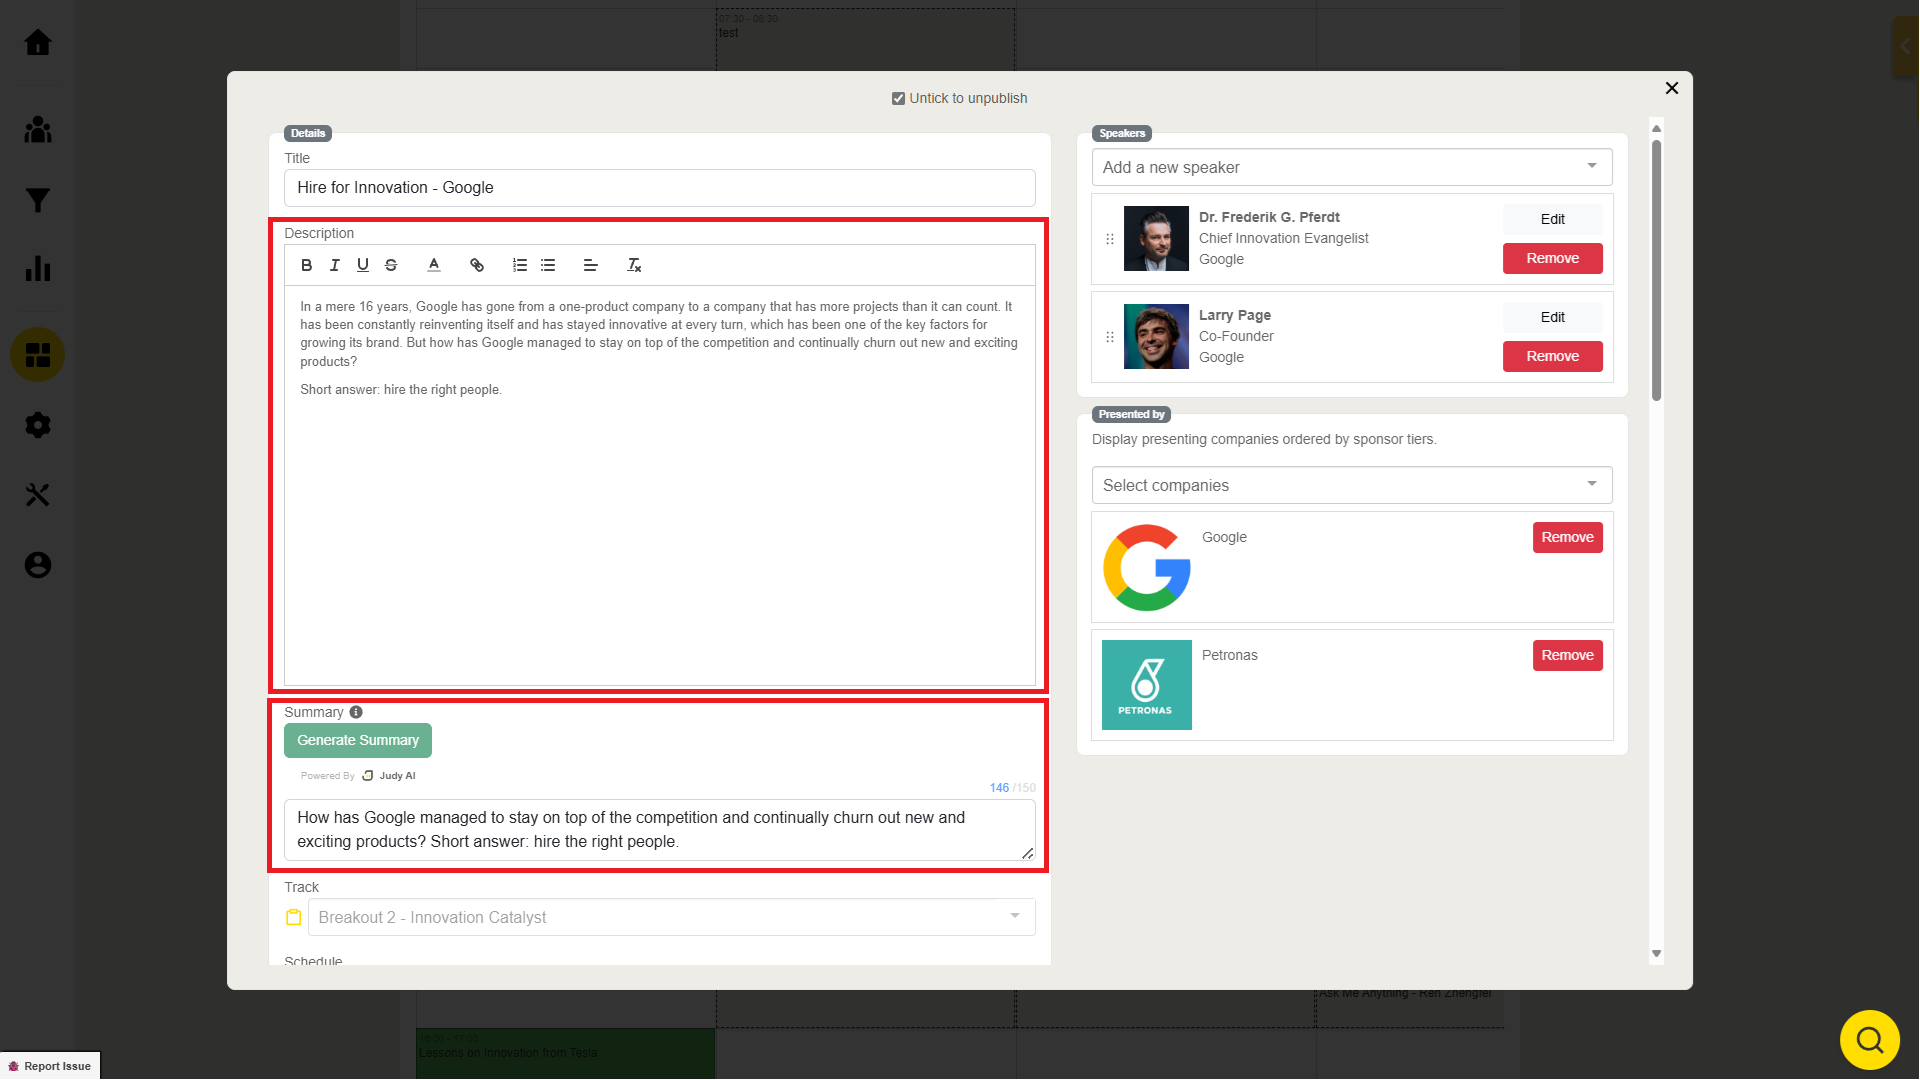
Session with Summary
Configuring Session Descriptions:
To avoid cluttered descriptions on the session listing:
Write a concise summary (up to 150 characters) that will appear as a preview in the agenda.
Session Publishing
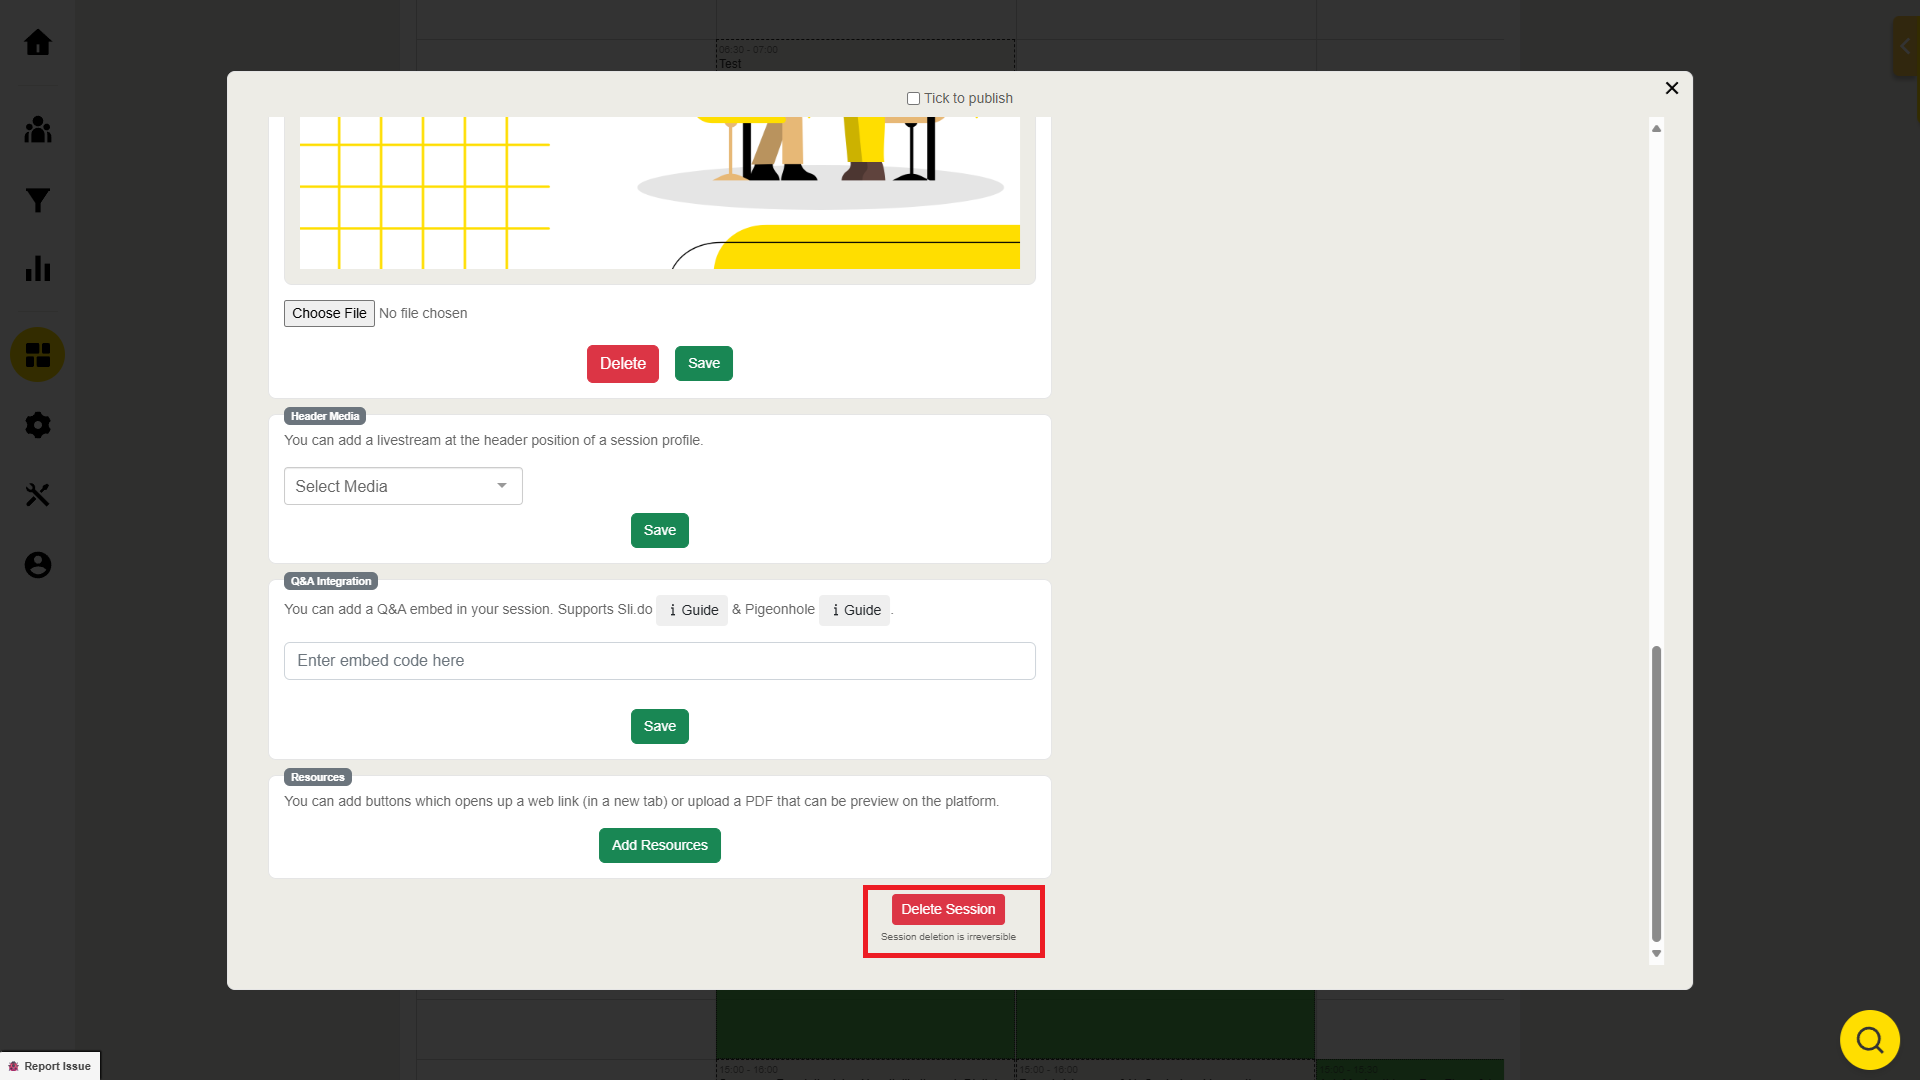
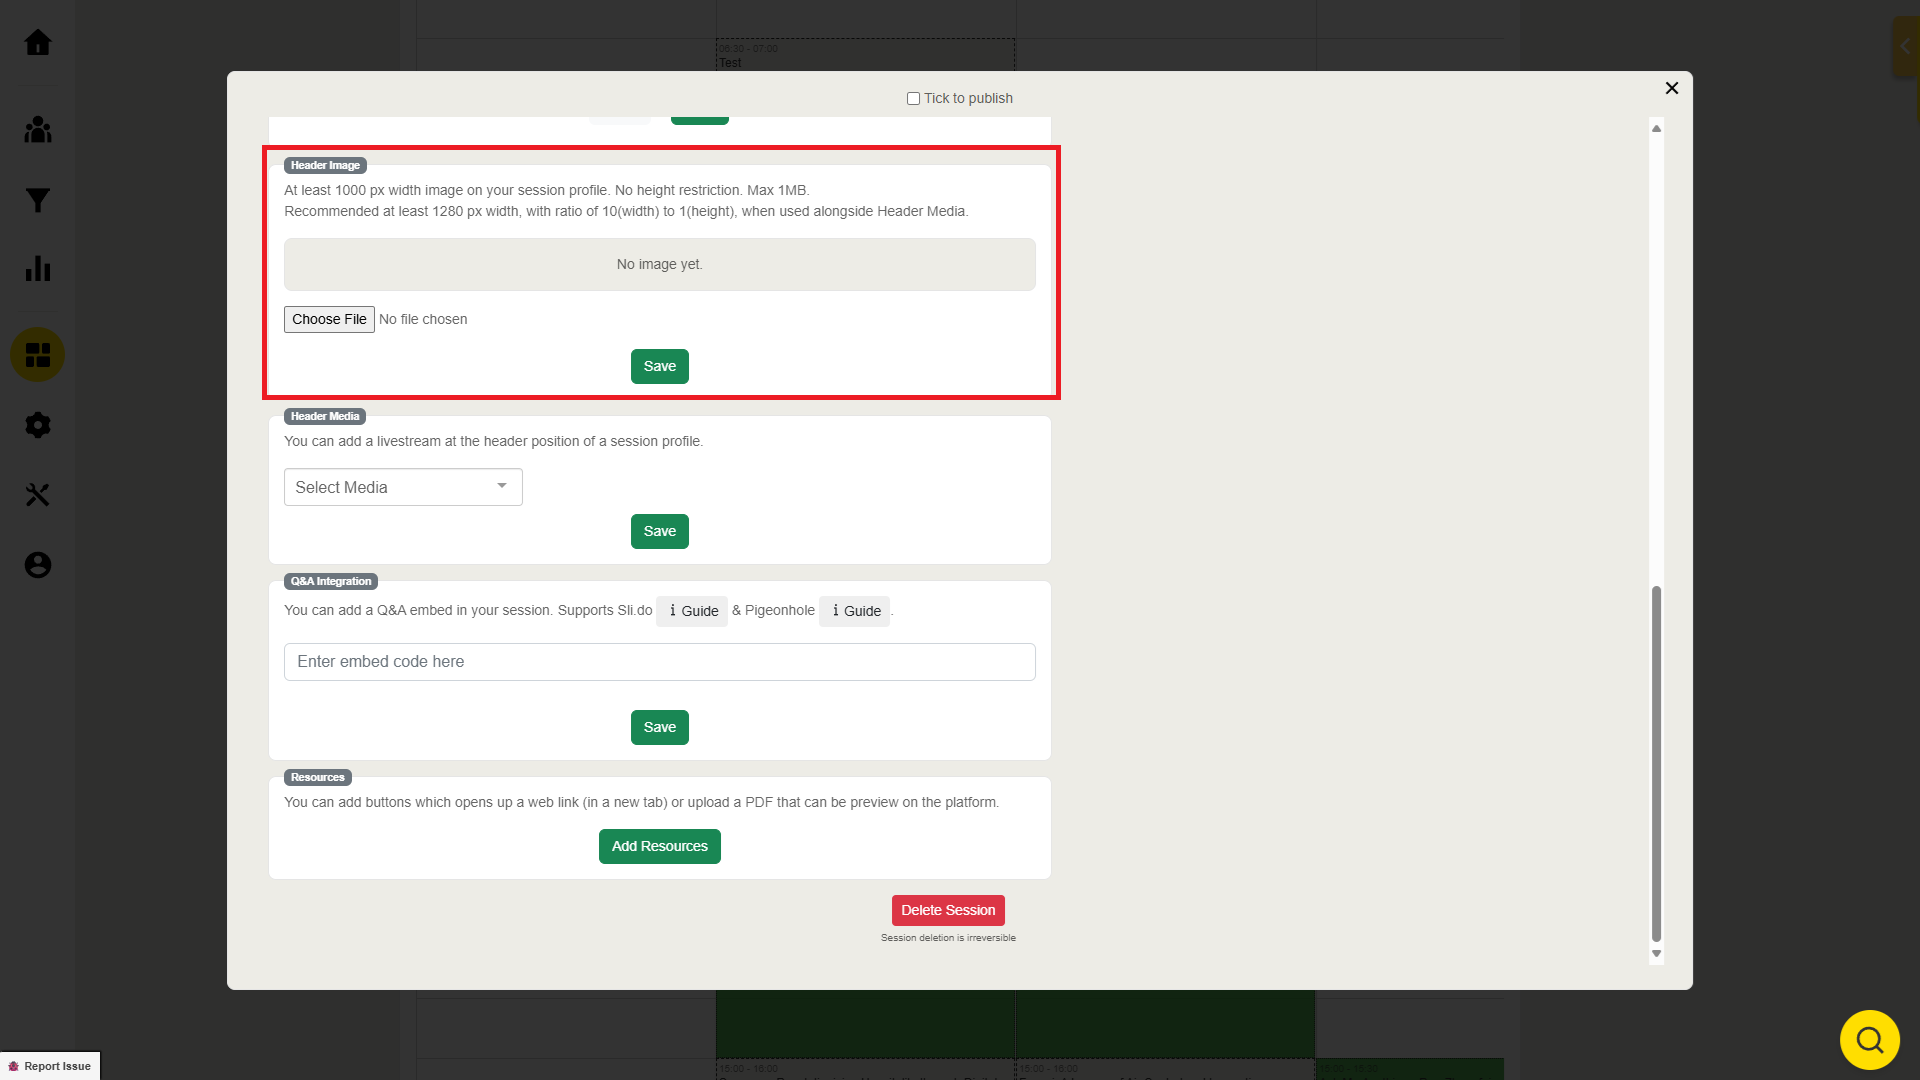
Add Header Image:
To make your session more visually appealing, click "Choose File" to upload an image for the session.
Check the image specifications before uploading. After adding the image, click "Save".
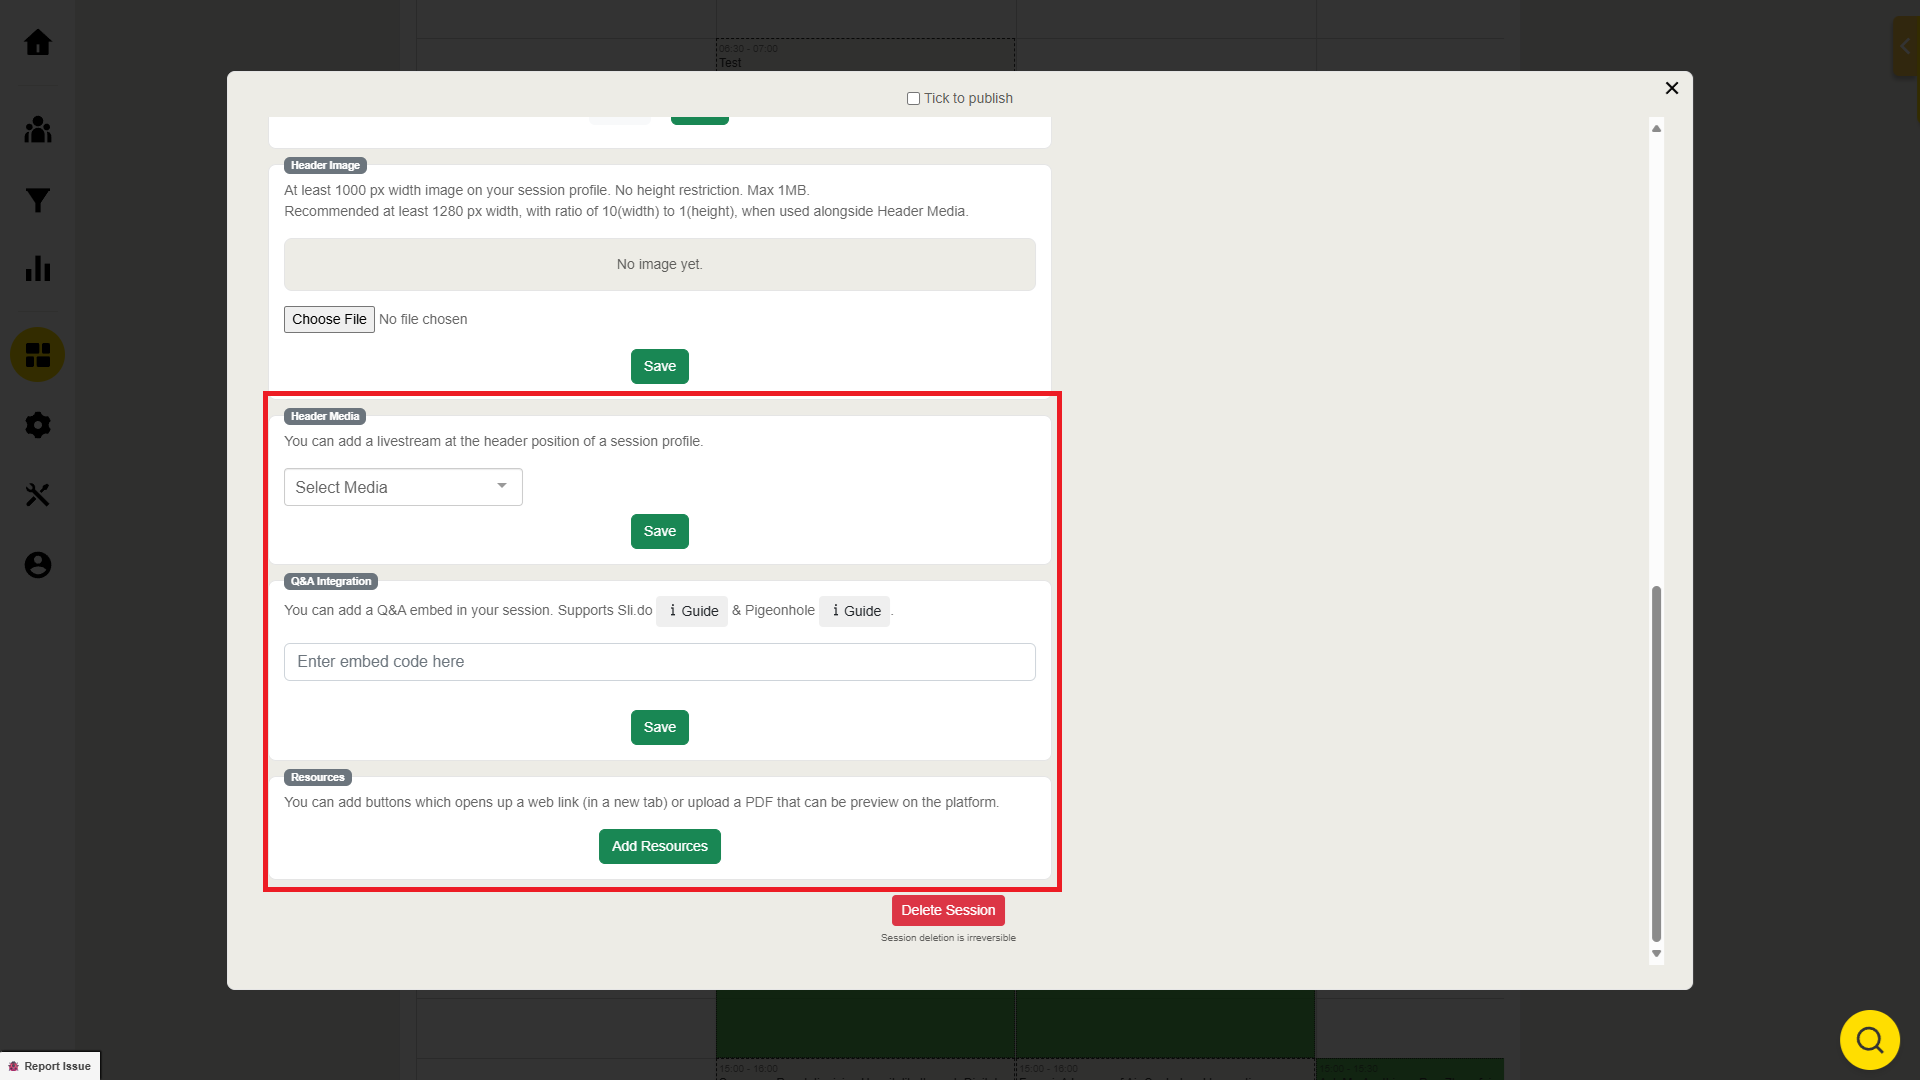
Add Media:
Below the session details, you can add relevant media content (such as videos or links).
Read more on adding media here.
Publish the Session:
Once all the session details are filled in, tick the box "Tick to publish" to make the session visible in the agenda menu.
Managing Speakers and Sessions
Remove Speaker from Session:
Locate the Session:
Find the session in the Builder.
Remove Speaker:

Remove Session:
Find the Session:
In the Builder, locate the session you wish to delete.
Delete the Session:
Click “Delete Session”.
Note: Session deletion is irreversible.